Boot up and Start VNC Viewer
Ensure that you have started up your VPS (click Boot up in DTC).
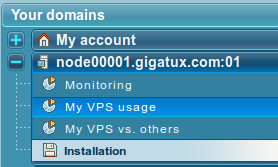
If you have not done so already, load the VNC viewer you previously installed on your local PC and connect to nodeXXXXX.gigatux.com:YYY where XXXXX is the node number (e.g. node49001 would be 49001) and YY is your VPS number. This information is found in the DTC console under My Account, with the below example being node00001:01
Configure Networking in Windows 2008 / Windows 2008 R2
Once you are logged in, you may be presented with an Initial Configuration Tasks window as below, or you may need to manually go to the Windows Control Panel:

Click on Configure networking. You will be presented with a screen showing one LAN or High-Speed Internet connection which should have a driver called Xen Net Device Driver. Click the right button on this and select Properties which will open the next window. Please follow the instructions at the bottom of this document as the instructions for Windows 2008 and Windows 2012 are now the same.
Configure Networking in Windows 2012
Once you are logged in, move the mouse to the far lower left corner. A small start window should appear. Click the mouse button and the main start menu should appear, filling up the screen.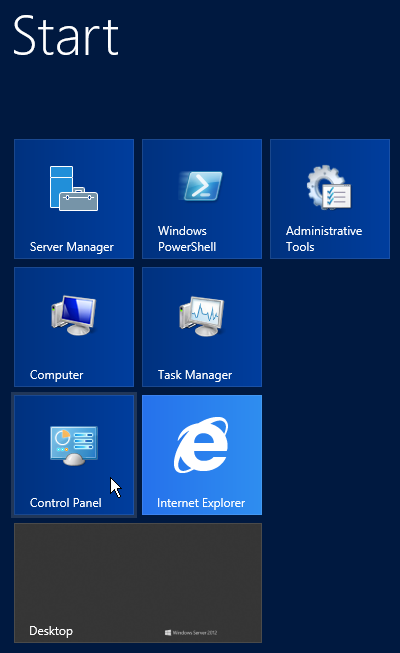
From here, click Control Panel and you will be presented with the following screen:
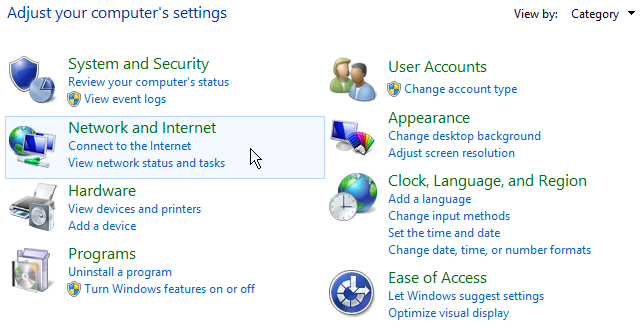
From here, click on Network and Internet and you will be presented with the following screen:
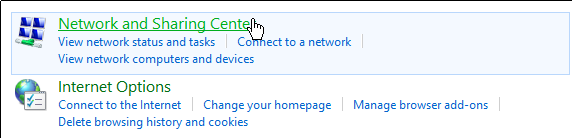
From here, click on Network and Sharing Center and you will be presented with the following screen:
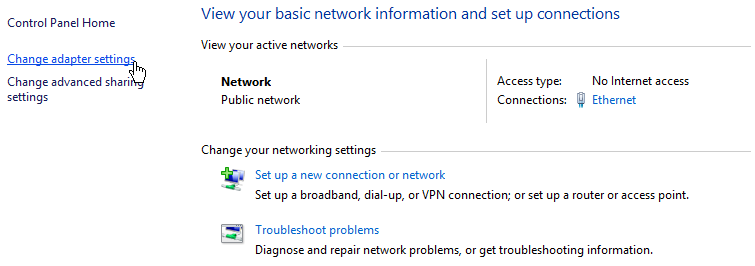
From here, click on Change adapter settings, one of the menu items on the left. You will then be presented with the following screen:
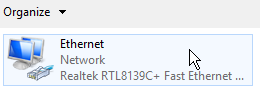
There should be just the one Ethernet connection available. Double click this to bring up the Ethernet Status window:
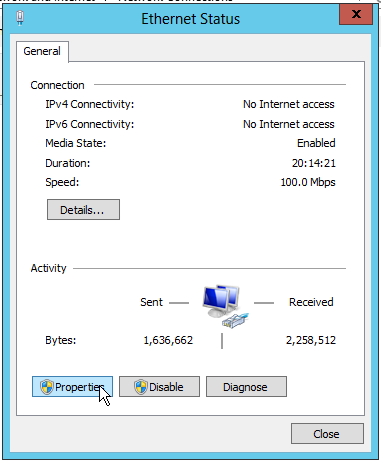
Click the Properties button and then follow the instructions below.
Final Network Configuration in Windows 2008 and Windows 2012
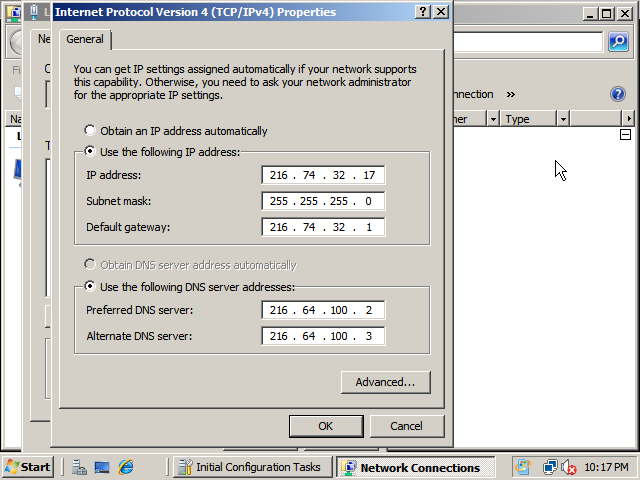
Click on Internet Protocol Version 4 (TCP/IPv4) and then Properties.In the next window, click on Use the following IP address: and Use the following DNS server addresses:. Then, fill in all the IP addresses as required based on the details sent in your welcome email. You can look up subnet, gateway and DNS information at our knowledgebase. Your screen will look similar to the below, but with different IP addresses: